How to Properly Plant Seedlings - A Step-by-Step Guide for Healthy Growth
Bringing home a new plant, whether it's a tiny seedling in a plastic bag or a more established one from the garden center, is always exciting. The crucial first step is transplanting it into a suitable container where it can thrive. While it seems simple, planting seedlings correctly involves a few key steps to minimize stress and set your plant up for success. Follow this guide to ensure you're doing it right.

1. Choosing the Right Pot
The first decision is selecting the right container. Critically, ensure the pot has drainage holes at the bottom – this is non-negotiable for preventing root rot. The pot should be large enough to accommodate the seedling's current root ball with at least 1 inch (approx. 2.5 cm) of space between the root ball and the edge of the pot. This extra space allows for growth and proper watering.
2. Creating the Essential Drainage Layer
Good drainage prevents water from pooling at the bottom, which can suffocate roots. Create a drainage layer at the base of the pot using materials like:
- Expanded clay pebbles (like Leca)
- Gravel or small construction stones
- Broken pieces of terracotta pots
- Styrofoam packing peanuts (ensure they are clean and non-biodegradable)
Cover the bottom of the pot, making sure the drainage holes aren't completely blocked but rather shielded from direct soil contact. Some gardeners place a piece of geotextile fabric (landscape fabric) over this drainage layer. This isn't strictly necessary but is an excellent practice to prevent the potting mix from washing out through the holes during watering.

3. Adding the Growing Medium (Substrate)
Now it's time for the soil, often called potting mix or substrate. Fill the pot roughly halfway with a quality potting mix suitable for your specific plant type (if known). Filling it only partially leaves enough room to comfortably place the seedling.
4. Gently Transplanting Your Seedling
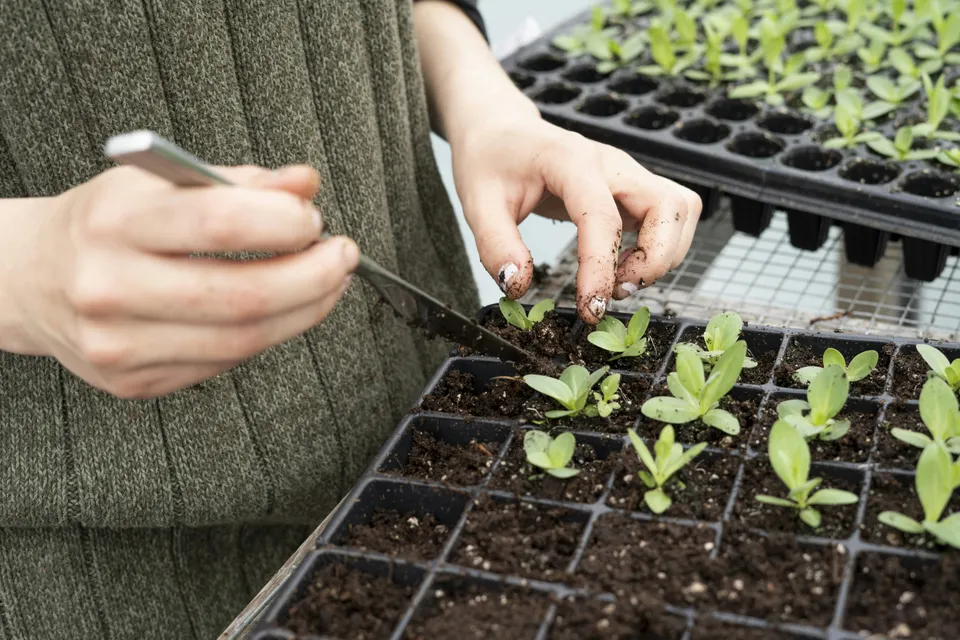
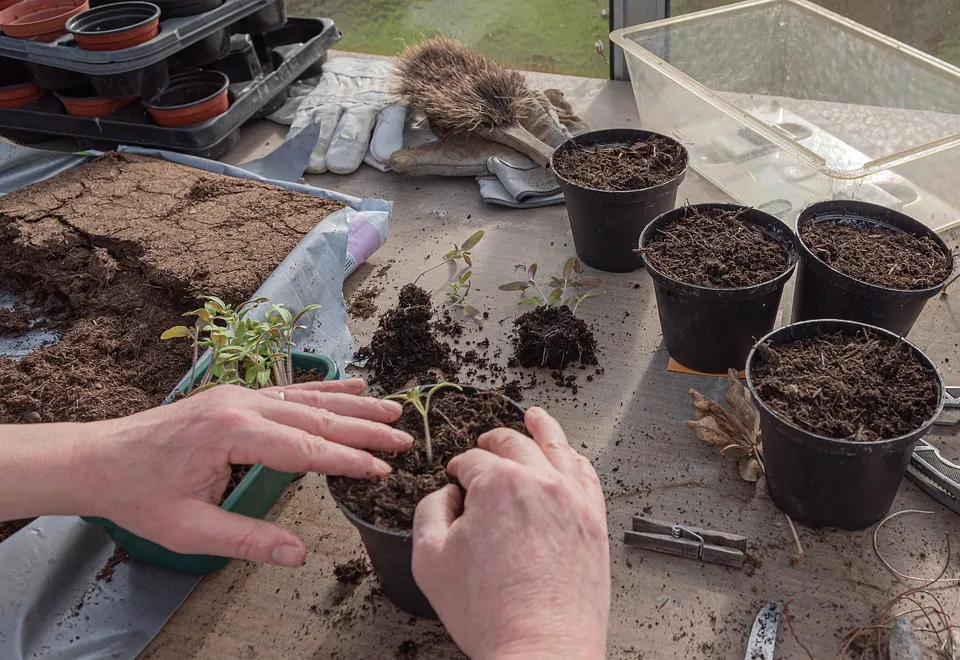
This is a delicate step. Carefully remove the seedling from its original container, doing your best to keep the root ball intact. Disturbing the roots as little as possible minimizes transplant shock.
- For seedlings in plastic bags or flimsy pots: Gently squeeze the sides and bottom with your thumb and forefinger to loosen the soil and container. Support the base of the plant and gently slide it out. Never pull the plant by its stem.
- For seedlings in firmer pots: Tip the pot sideways, support the plant base and soil surface with one hand, and gently tap the bottom of the pot with the other until the plant slides out.
5. Securing the Plant and Adding Top Dressing
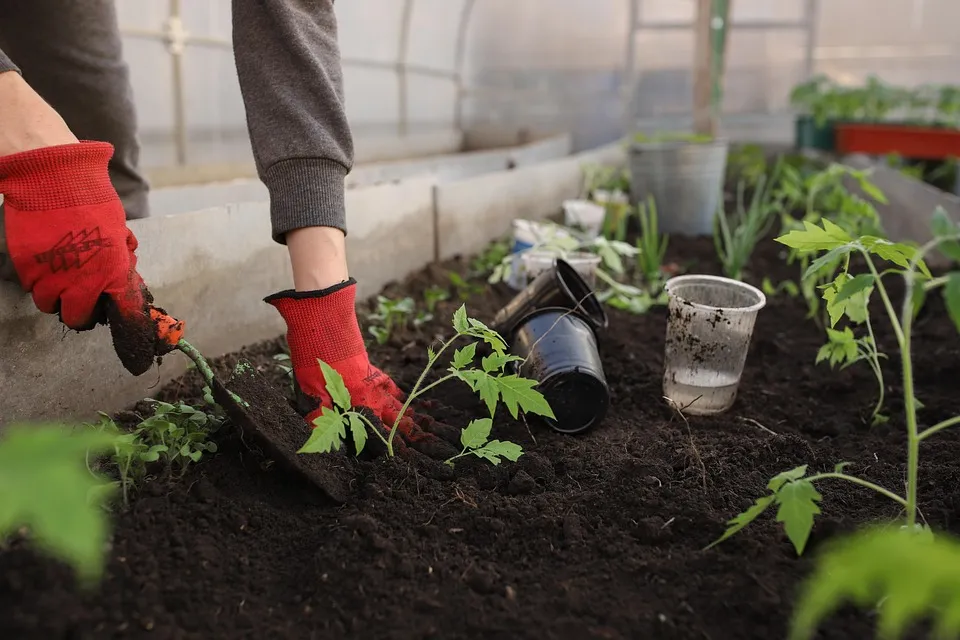
Position the seedling in the center of the new pot on top of the existing potting mix. Ensure it sits at roughly the same depth it was in its original container. Add more potting mix around the root ball, filling the pot up to about an inch below the rim. Gently firm the substrate around the base of the plant using your fingertips – this removes air pockets and secures the seedling.
That remaining space below the rim is perfect for adding a top dressing or mulch, such as:
- Pine bark nuggets or shredded bark
- Wood chips
- Decorative pebbles or gravel
Top dressing not only looks attractive but also helps retain soil moisture, prevents soil from splashing out during watering, and can suppress weeds. Spread your chosen material evenly over the soil surface.

6. Watering and Initial Care
The final step is to water the plant thoroughly. Water until it drains freely from the bottom holes. This helps settle the soil around the roots and provides essential hydration.
For the first few days (potentially up to a week), keep the newly planted seedling out of direct, harsh sunlight. This adaptation period allows the plant to recover from the transplant without the added stress of intense sun. After this period, gradually introduce it to the appropriate light conditions for its species.
Important Tip: It's generally best to transplant seedlings in the cooler morning hours to minimize stress. Also, take care never to expose the bare roots directly to the sun during the process, as this can damage them quickly.
Happy Planting! 💚